Phabricator 安装过程
发布于 2021-01-22
基础的 LNMP 环境搭建
# 安装基础软件
apt update
apt install -y curl wget htop git vim
apt install -y software-properties-common

add-apt-repository -y ppa:ondrej/php
add-apt-repository -y ppa:nginx/stable

apt update
# PHP
apt install -y php7.4 php7.4-common php7.4-fpm php7.4-curl php7.4-gd php7.4-intl php7.4-json php7.4-mbstring php7.4-mysql php7.4-readline php7.4-redis php7.4-xml php7.4-yaml php7.4-zip
# nginx
apt install -y nginx
# mysql
apt install -y mysql-common mysql-client mysql-server
CLONE 项目源码
# cd __wwwroot__
git clone https://github.com/phacility/libphutil.git
git clone https://github.com/phacility/arcanist.git
git clone https://github.com/phacility/phabricator.git
基础配置
nginx 配置
server {
    listen 80;
    server_name phabricator.example.com;

    root  /data/www/wwwroot/phabricator.example.com/phabricator/webroot;
    index index.html index.htm index.php;

    access_log /var/log/nginx/phabricator.example.com-access.log;
    error_log  /var/log/nginx/phabricator.example.com-error.log error;

    location / {
	index index.php;
	rewrite ^/(.*)$ /index.php?__path__=/$1 last;
    }

    location /index.php {
	include snippets/fastcgi-php.conf;

	# With php-fpm (or other unix sockets):
	fastcgi_pass unix:/run/php/php7.4-fpm.sock;
	# With php-cgi (or other tcp sockets):
	#fastcgi_pass 127.0.0.1:9000;
    }
}
phabricator 数据库配置
# cd phabricator
./bin/config set mysql.host __host__
./bin/config set mysql.user __user__
./bin/config set mysql.pass __pass__
./bin/config set mysql.port __port__
执行数据库迁移(创建库和表)
./bin/storage upgrade
打开浏览器尝试访问项目, 继续配置
- 首次访问会直接让创建一个管理员账户并登录.
登入后的第一件事就是配置
Auth模块.添加一个 Login and Registration Provider, 因为自用, 我就选了
Username/Password方式, 且禁用了注册功能;为当前管理员账号设置的密码, 创建管理员账号时并没有让填写密码, 所以要主动设置一下密码.
点击头像 >
Settings>Password: 发送重置密码邮件. 因为还没有配置邮件相关, 可以在命令行查看邮件内容, 拿到邮件中的重置密码链接直接访问即可.# 查看发送的邮件列表 ./bin/phabricator mail list-outbound # 找到重置密码的邮件ID, 查看内容 ./bin/phabricator mail show-outbound --id 1
查看
Config>Setup Issues, 可以看到还需要配置或处理的其他事项.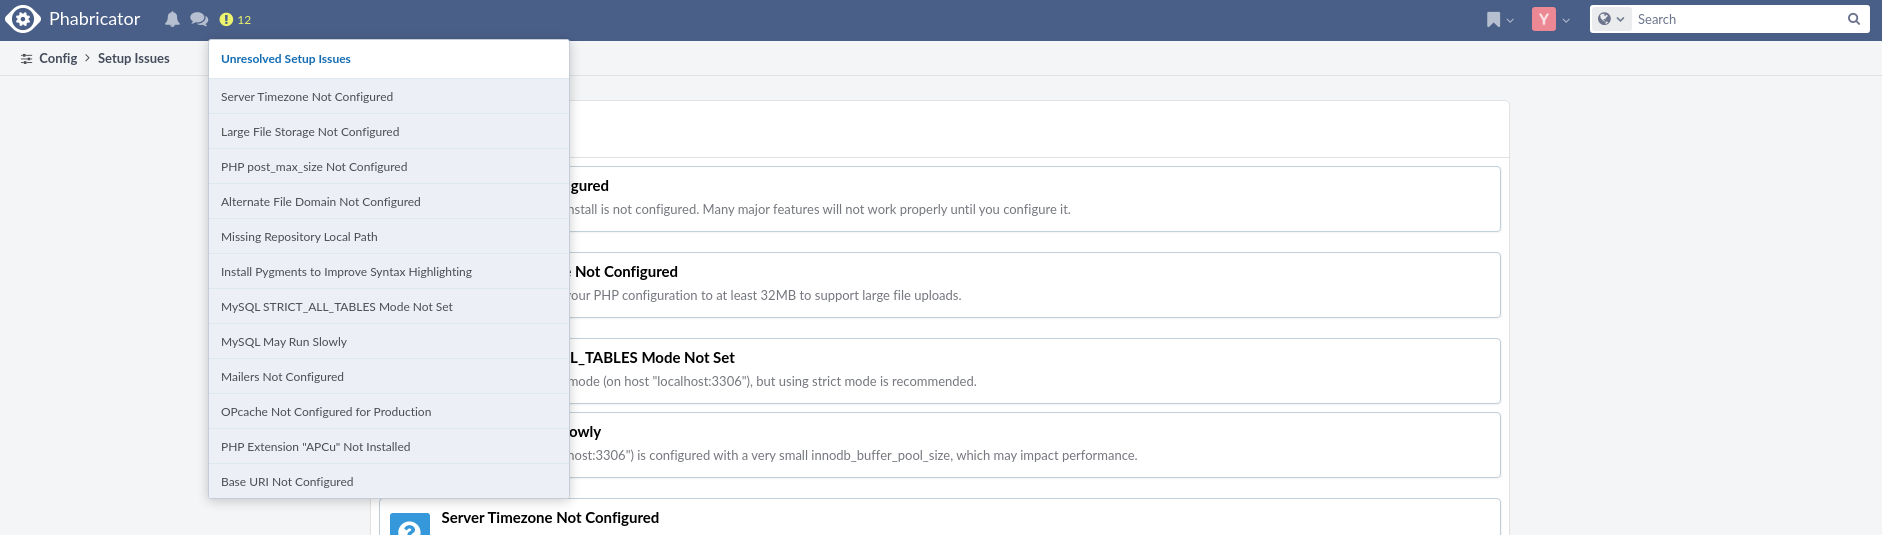
点进去都有具体的问题描述以及解决方法(赞). 当然并不是所有列出的问题都需要解决, 具体还是看自己的需求.
需求一: 配置 GIT 仓库
我的首要目标是搭建一个 GIT 仓库, 给公司自用. 要求使用 SSH 协议.
配置
# cd phabricator
./bin/config set phabricator.base-uri http://phabricator.example.com/
./bin/config set storage.local-dist.path /data/pha/storage
./bin/config set repository.default-local-path /data/pha/repo
# 设置 daemon-user
./bin/config set phd.user pha
# 设置 vcs-user
./bin/config set diffusion.ssh-user git

# 添加 daemon-user
useradd -d /data/www -s /bin/bash -U pha
# 添加 vcs-user, 需要设置为 NO PASSWORD
useradd -d /home/git -s /bin/bash -U git -p NP

# 创建用于存储上传文件的目录
mkdir -p /data/pha/storage
# 创建用于存储代码库的目录
mkdir -p /data/pha/repo
# 创建 vcs-user 的 HOME 目录
mkdir -p /home/git

# 假设 nginx 用户为运行 webserver 的用户(文档里的 www-user)
# 修改目录权限
chown pha:pha -R /data/pha/repo
chown nginx:nginx -R /data/pha/storage
chown git:git -R /home/git

# 启动 phd 后台进程
./bin/phd start

# www-user 和 vcs-user 需要能够以 deamon-user 的身份执行 sudo, 以便它们能与代码存储库进行交互
# 配置 sudo 权限
# vim /etc/sudoers
# 这里为了方便, 直接给了全部COMMNAD的权限
# nginx ALL=(pha) NOPASSWD: ALL
# git ALL=(pha) NOPASSWD: ALL

# 需要新起一个 sshd 进程给 phabricator 使用
# 出于安全和方便的考虑, 把原 ssh 登录的端口改成非 22 端口, 默认的 22 端口留给 phabricator 用
# 配置 SSHD
cp resources/sshd/phabricator-ssh-hook.sh /usr/libexec/
cp resources/sshd/sshd_config.phabricator.example /etc/ssh/sshd_config.phabricator
# vim /etc/ssh/sshd_config.phabricator
# 修改 AuthorizedKeysCommand, AuthorizedKeysCommandUser, AllowUsers
# vim /usr/libexec/phabricator-ssh-hook.sh
# 修改 VCSUSER, ROOT

# 启动 SSHD
sshd -f /etc/ssh/sshd_config.phabricator
至此应该大功告成了.
测试
继续回到浏览器, 登入后上传一下自己本机的 SSH 公钥.
点击头像 > Settings > SSH Public Keys.
在本机终端测试:
echo {} | ssh git@phabricator.example.com conduit conduit.ping
# 一切正常的话, 应该可以看到
# {"result":"__hostname__","error_code":null,"error_info":null}